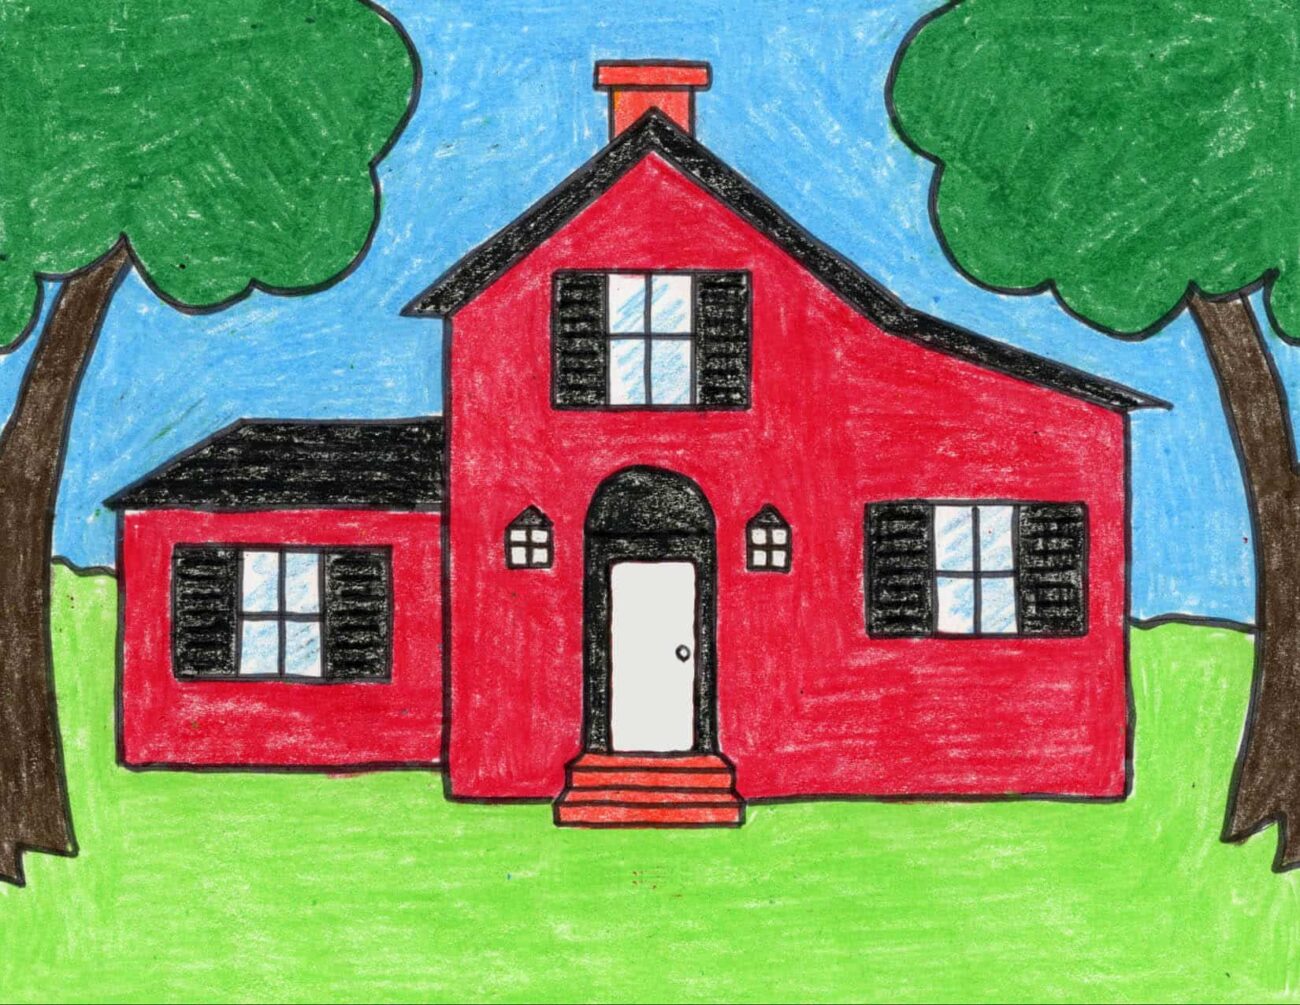
Below you’ll find an easy step-by-step tutorial for how to draw a Country House. This one has a few more interesting features than just your average house drawing.
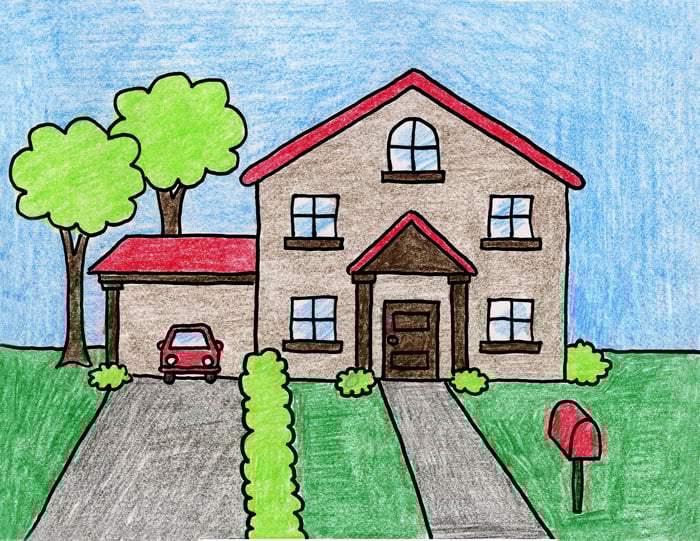
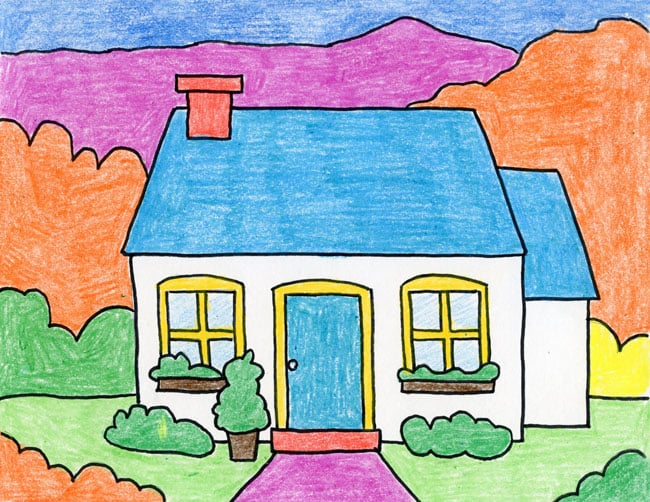
Learning how to draw a house is always a fun project for young artists, as everyone is familiar with how they basically look. The only catch is that many students kind of get in a rut of always drawing them the same way. To encourage an interest in architecture, it’s nice to give students some inspiration for different possibilities. Keep scrolling down for a few more options besides just this one.
Drawing buildings calls for a more organized kind of thinking. Lines need to be neat and orderly, if one wants to draw something that looks like it is well-built and standing straight and tall.
Join the “Daily Draw” to get this printable art lesson
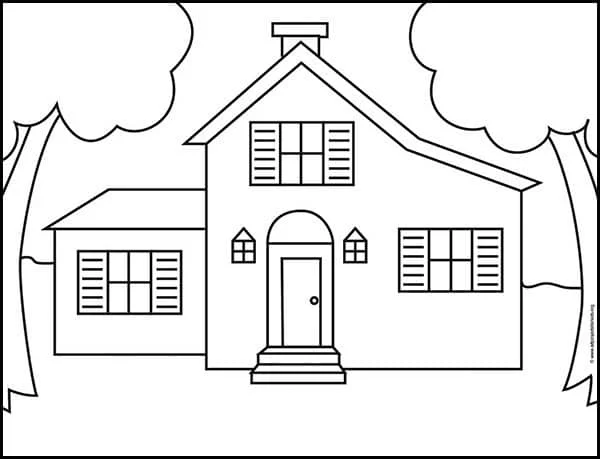
House Coloring Page
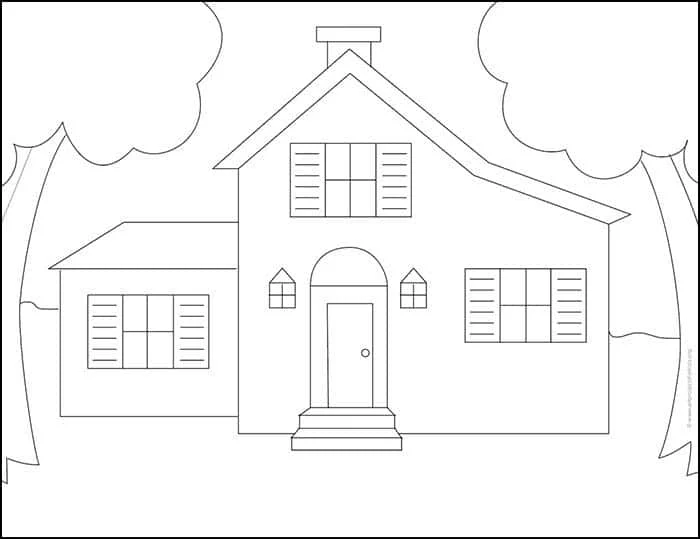
House Tracing Page
Materials
Colored Pencils or Crayons
A larger pack will offer more color choices.

Sharpie Markers Black
A permanent marker will give you a dark black color.

Pencils
I like how this brand always makes nice dark lines.
Drawing Paper
This is the good stuff you can buy in bulk for a good price. Note: All of the links shared here are affiliate links.
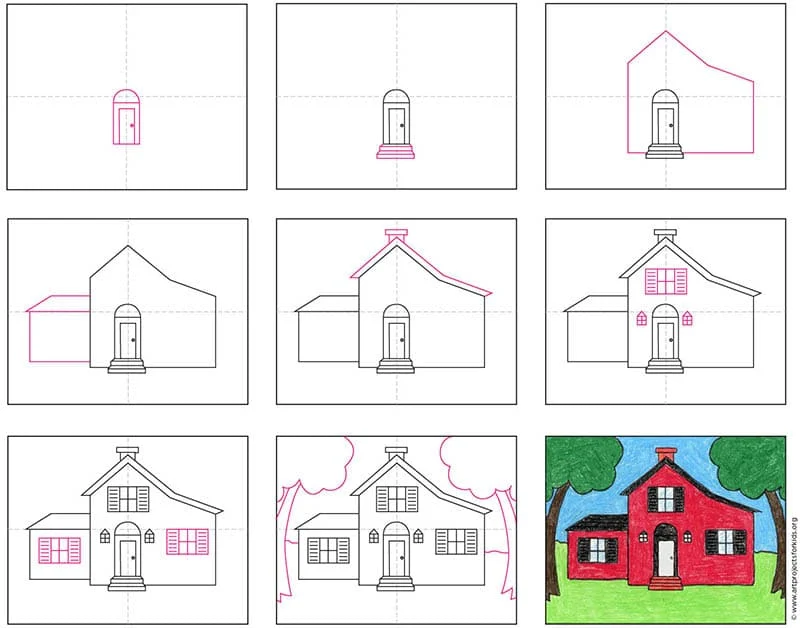
How to Draw a House Step by Step
Time needed: 45 minutes
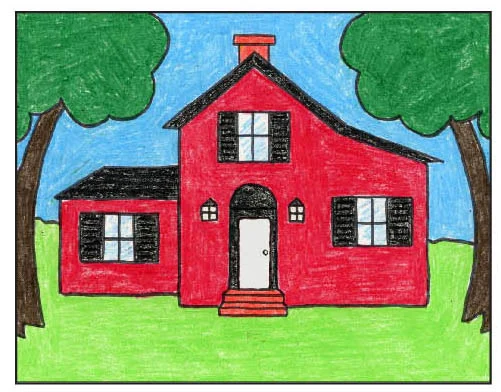
Instructions for the House drawing
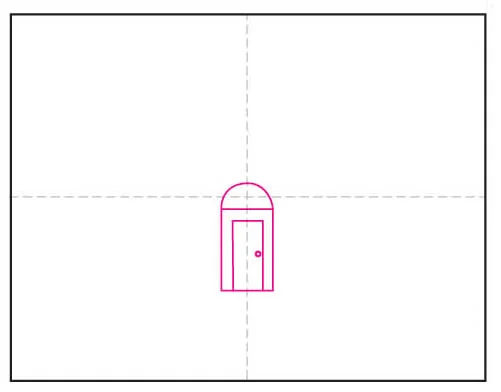
- Draw a door and a frame in the center.
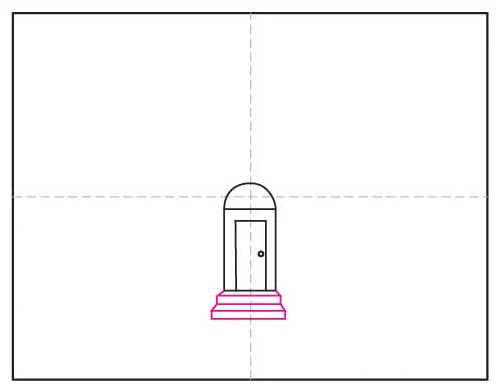
- Add stairs below.
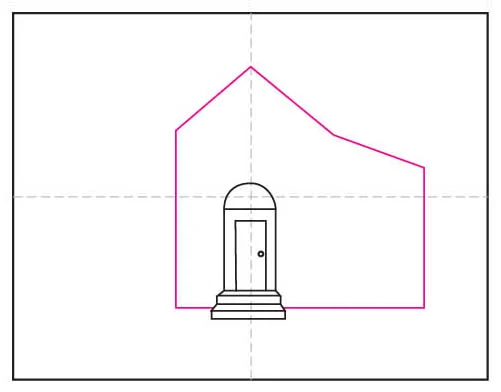
- Draw a symmetrical frame around it.
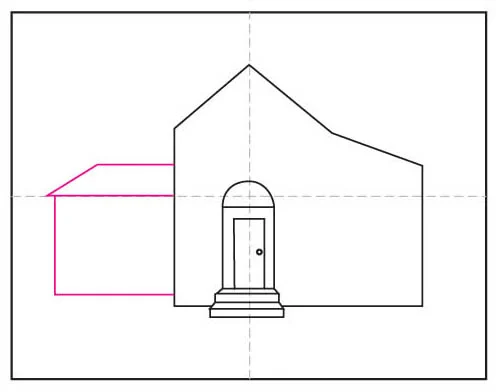
- Add an extension to the left.
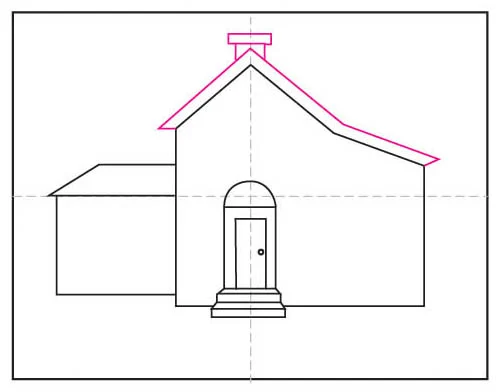
- Draw the roof edge and chimney.
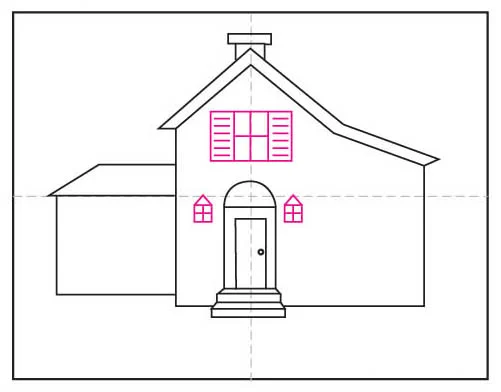
- Add a center window and lamps by the door.
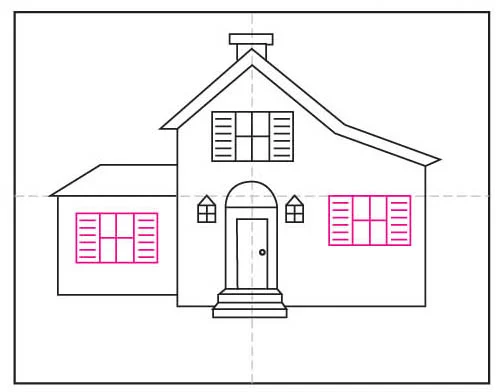
- Draw two more similar windows.
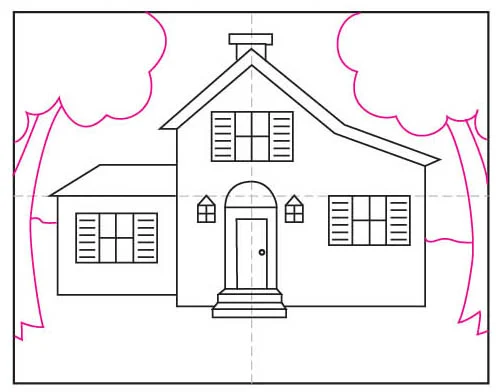
- Finish with side trees and horizon line.
- Trace with a marker and color.
Save me to your Pinterest Board

More House Projects