Here you’ll find an easy step-by-step how to Valentine’s Painting video lesson for elementary students. Crayons and watercolors always make a beautiful combination.
Valentine Painting Ideas
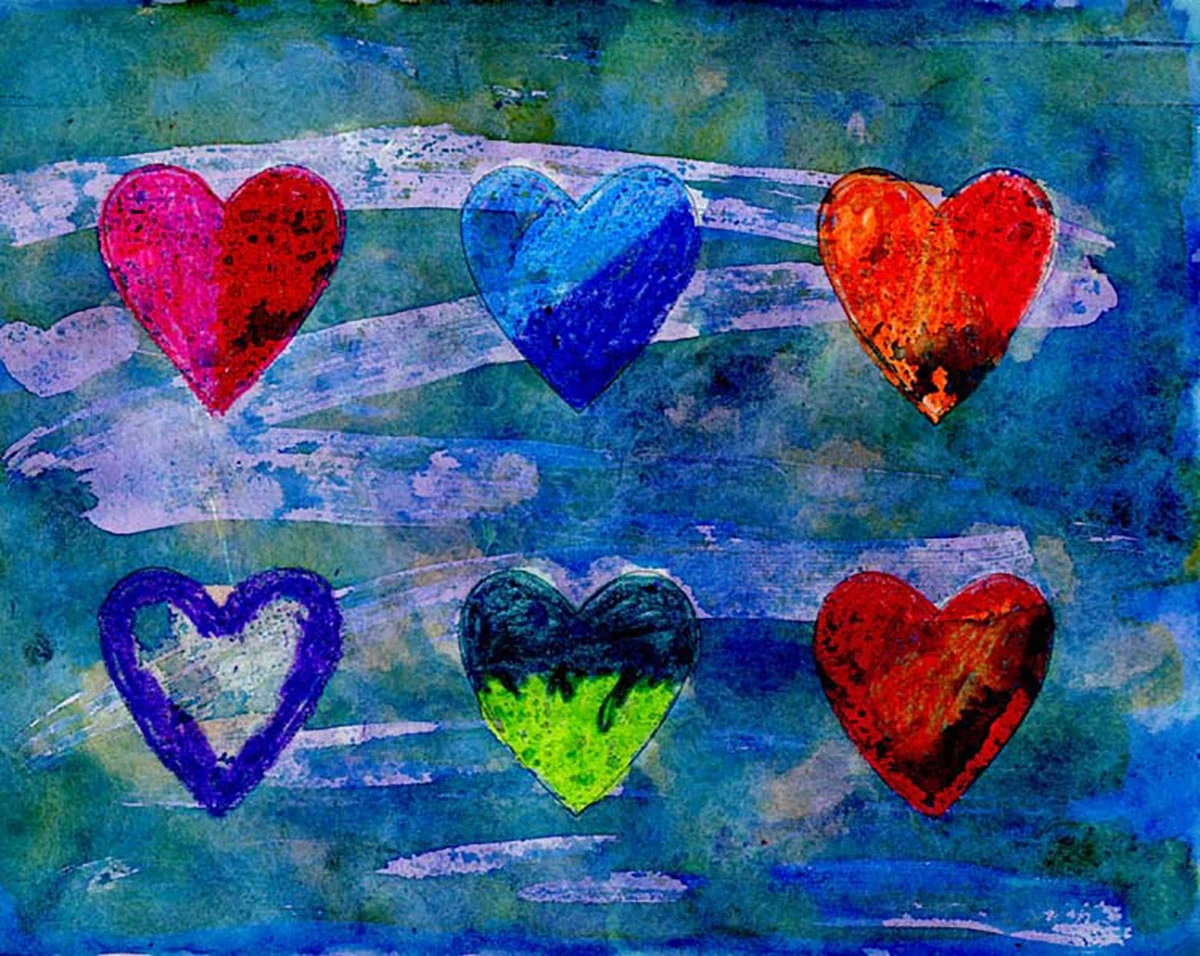
Some of my favorite Valentine’s painting ideas come from an unusual (but very kid-friendly) combo of supplies. The finished artwork can look surprisingly detailed—almost like it took forever—but the process is actually simple once you know the trick.
The secret is layering: students build up color little by little, and then let the materials do the “fancy” work for them. Crayons add bold lines and rich color, paint brings everything to life with smooth washes, and rubber cement acts as a resist so certain areas stay clean and bright. When the paint goes on, it slides right off the cemented spots, creating crisp highlights and patterns without any complicated steps.
It’s a fun way to get that classic Valentine look—hearts, swirls, and bursts of color—while also sneaking in a great art lesson. Kids learn how layers change what you see on top, and they get to experience a little “wow!” moment when the resist reveals itself.
If you’re looking for a Valentine painting project that feels special but doesn’t require a million supplies (or a miracle), this is one of those reliable, high-impact techniques you’ll want to use again and again.
Getting Started
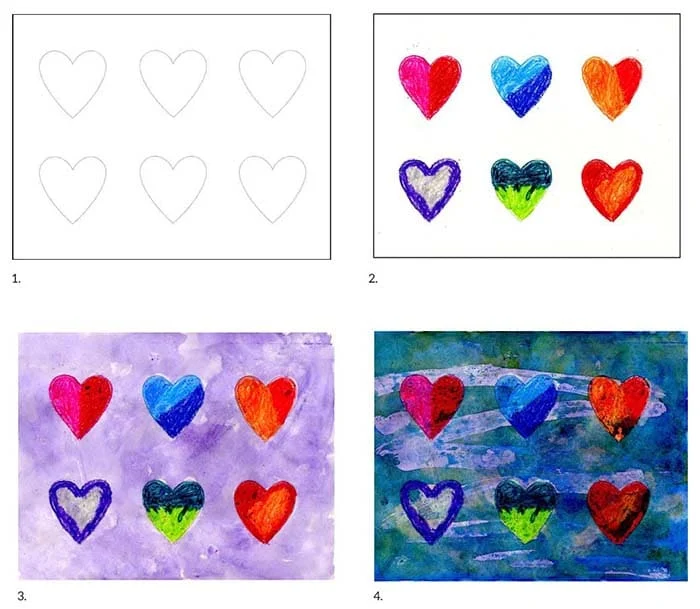
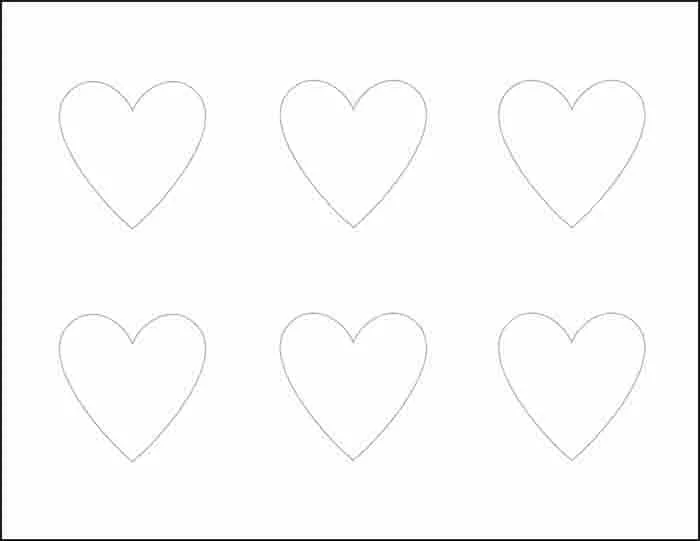
To get to the heart coloring stage, you have a choice of printing my template on watercolor paper, or having students draw their own. Back in my classroom days though, I found that students could get hung up on drawing even one “perfect” heart, let alone six of them. I decided speeding up the process by pre-printing them was worth it. After all, this lesson is about coloring and painting, not so much about drawing.
When coloring the hearts, crayons work well, as do oil pastels too. Ask your students to make each as dark and multi-colored as possible. Afterwards, the entire paper gets a quick watercolor wash. I recommend choosing a lighter color so the final painting doesn’t get too dark. The painting needs to draw completely at this point.
The next step, which isn’t photographed because I did this so long ago, is to take a jar of rubber cement, and paint one large swish or z-shape across it. The rubber cement is going to act as a sealer for that bottom color, and needs to dry completely too.
When that cement is dry, a second layer of watercolor is brushed over the whole paper. Again, let the painting dry.
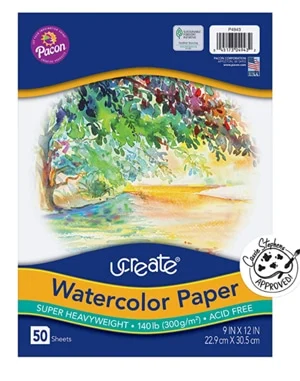
Finally, my favorite part, rubbing off the cement. It should should come off easily when rubbed with fingers. Good watercolor paper will be thick and sturdy and make this process easier too.
One lesson that I believe Valentines painting ideas can teach? That adding layers of color to your art can do magical things!
Use the Button below to grab a PDF Tutorial
Six Heart Coloring Page
• Affiliate links. If you click I may be compensated in a small way.
Mini Canvas*
Acrylic Paint*

Grease Pencil
Rounded Paintbrush
Pencil*
Non Spill Paint Cups*
Directions for a Valentine Painting
Time needed: 1 hour
How to make a Valentine’s Day heart painting
- Print a template of 6 hearts, or make your own.
- Color all the hearts with crayons. Press very hard.

- Wash a light watercolor paint over the entire paper.
When dry brush a large Z shape with rubber cement. Let dry.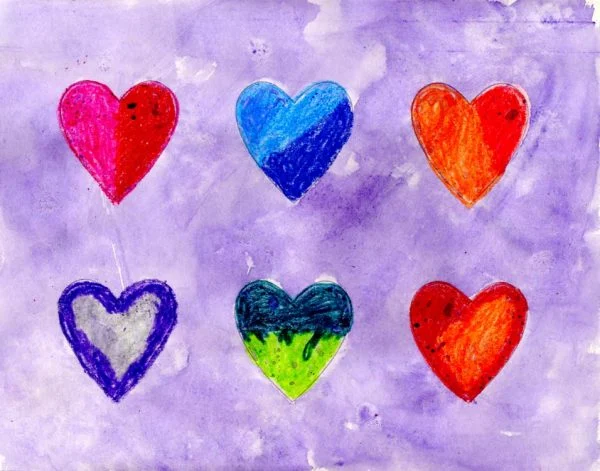
- Wash another color of watercolor paint over the paper.
When dry, rub off the rubber cement with fingers to reveal color underneath.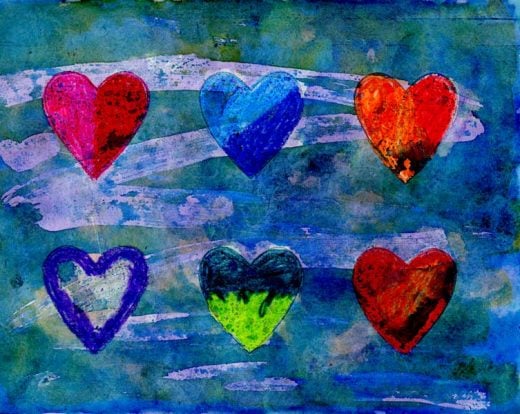
More Valentines Painting Ideas and Drawings