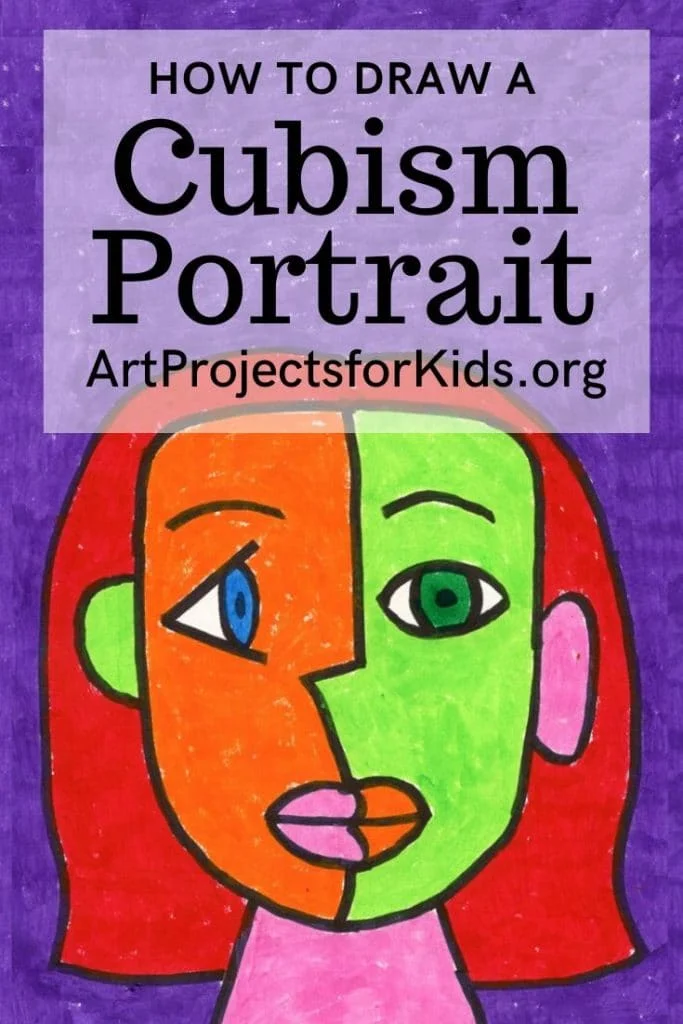
Here you’ll find an easy step-by-step tutorial for how to draw Cubism for Kids and Coloring Page. It’s easy for artists of all ages to draw.
Drawing of a Cubism Portrait
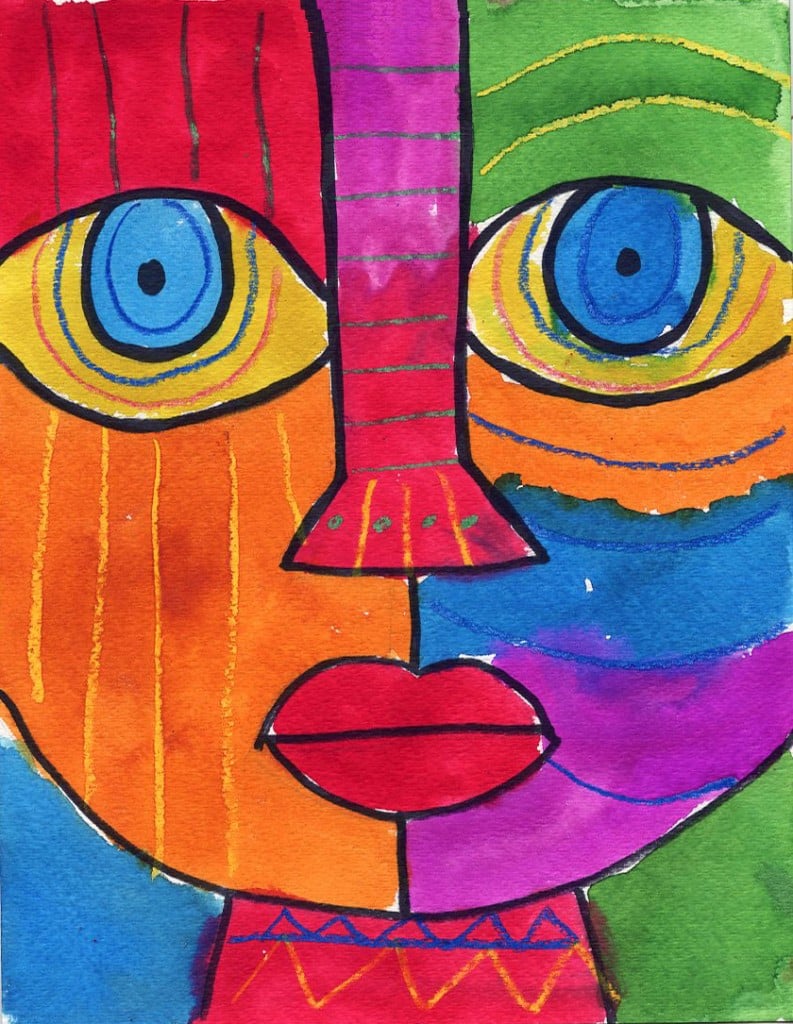
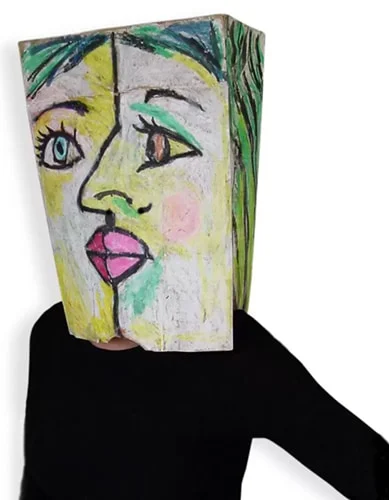
There are lots of long explanations of cubism for kids, but I like to keep it simple: Cubism is showing two sides of one thing at the same time.
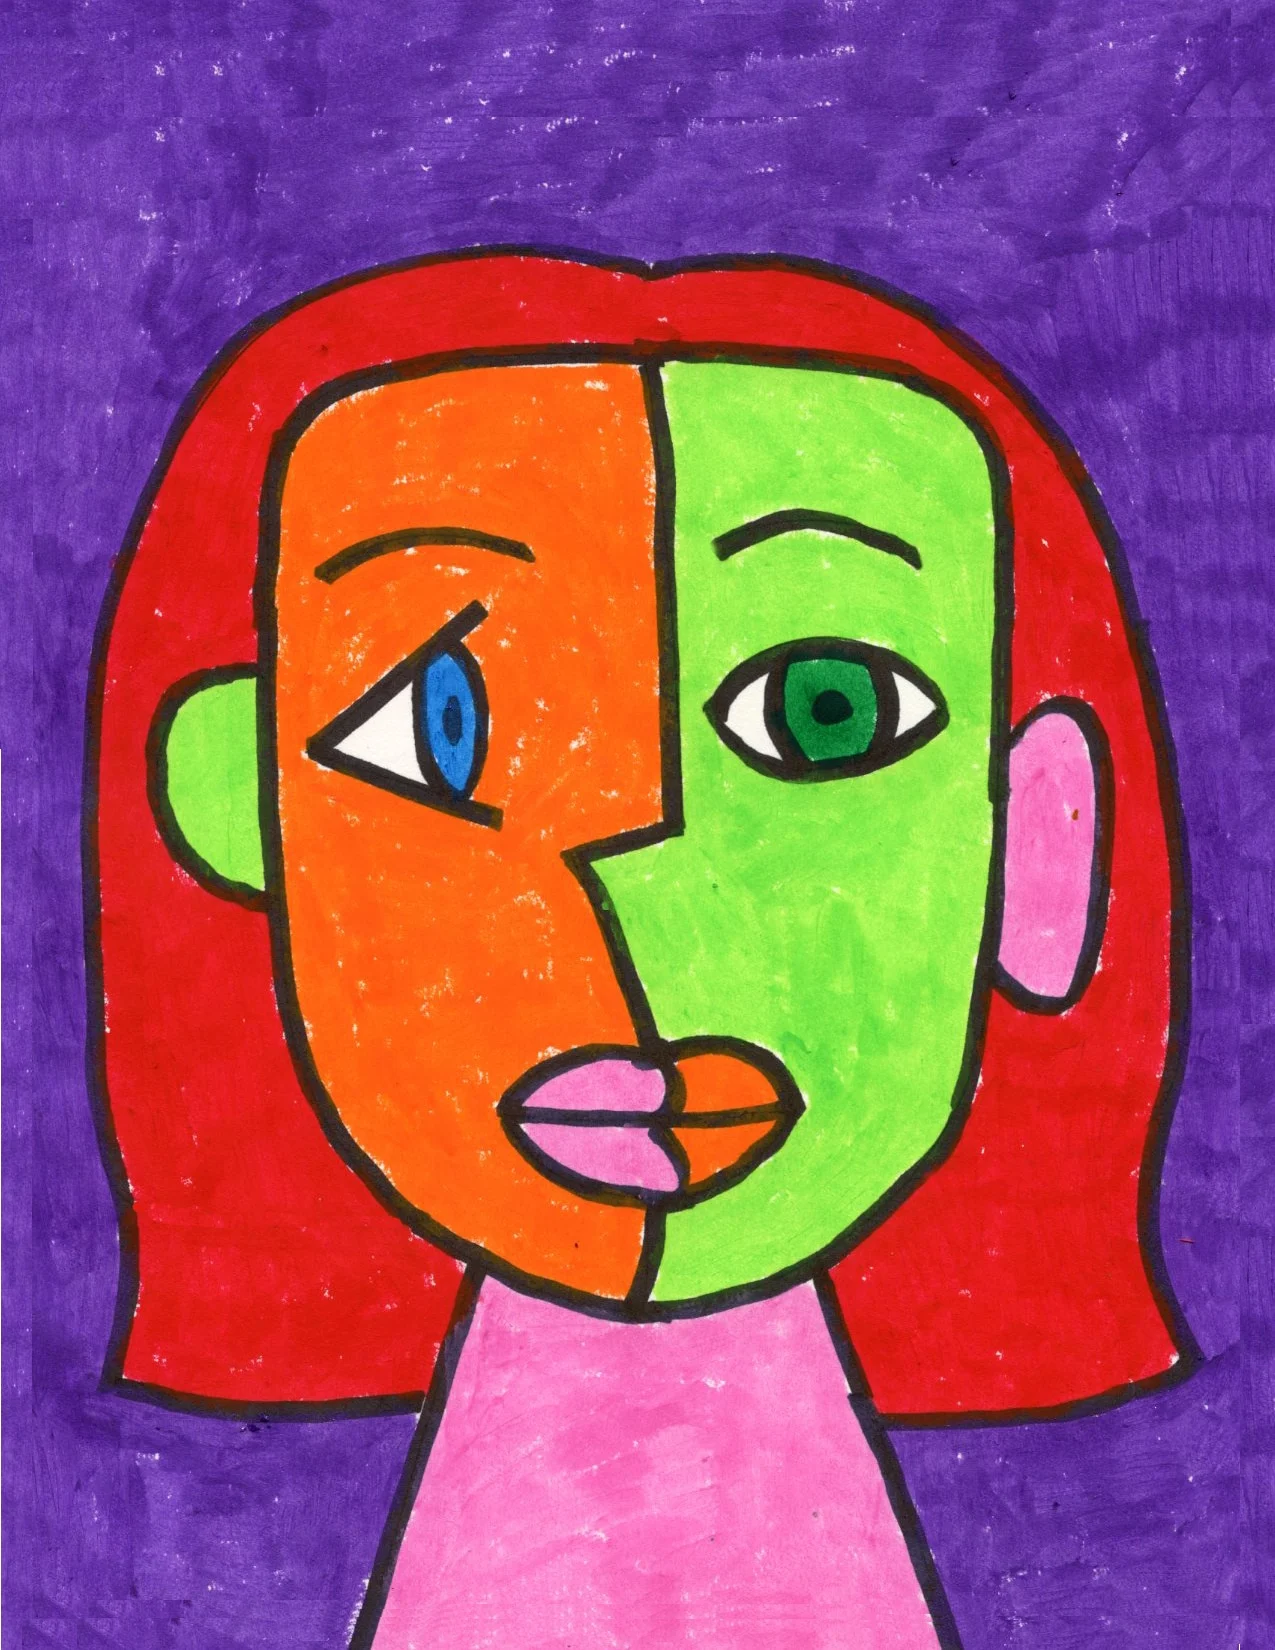
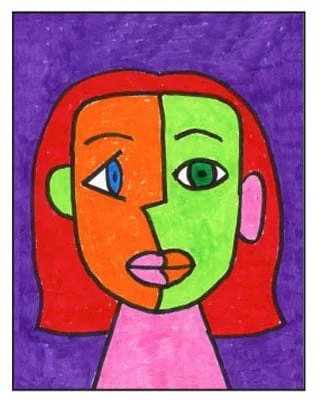
One of the easiest ways for students to try that idea is by drawing a face using a cubist approach. They draw one half in profile view (side view) and one half looking straight ahead (front view). When the dividing line runs from the top of the head to the chin, it creates closed shapes that are easy to color. Coloring those sections in different shades helps the “cubism” look really stand out.
This drawing works well in lots of art materials, but I prefer something that keeps colors bright and bold. Mr. Sketch markers are especially fun to use. No matter what medium students choose, the biggest difference comes from how carefully they color. Encourage them to fill in each shape evenly—no scribbles—because neat, solid color makes the finished artwork look its best.
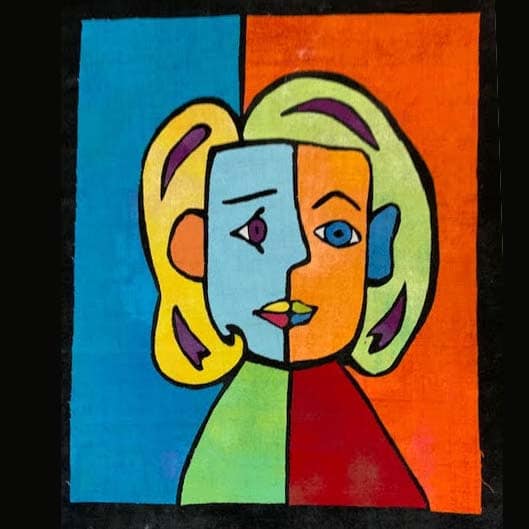
Gallery Art Inspiration
More Cubism Project Ideas
-

Cubism + oil pastels -
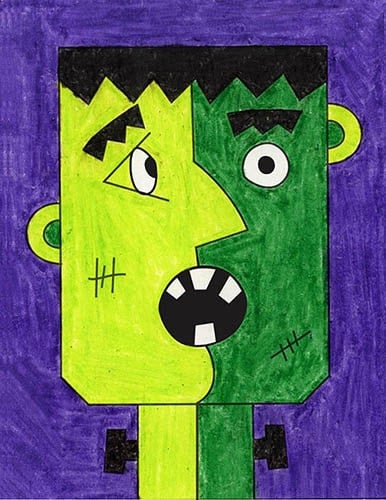
Cubism + Frankenstein -
Cubism + grocery bag
Join “The Daily Draw” to get this art lesson!

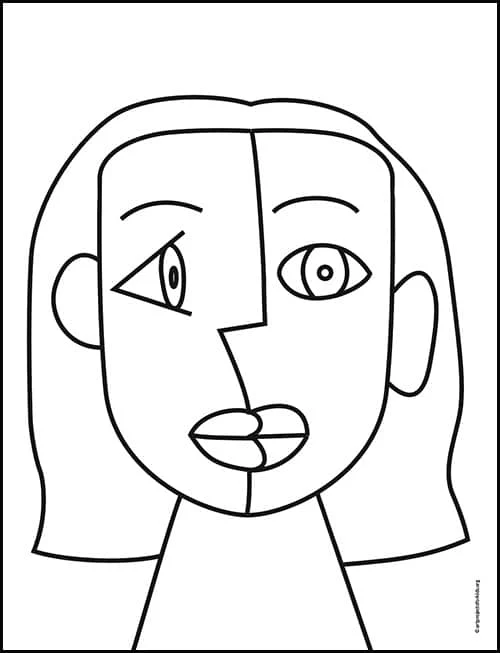
Cubism Portrait Coloring Page
Materials to Draw a Cubism Portrait

TBC Paint Sticks
Washable, non-toxic tempera paint sticks. Note: All of the above are affiliate links.

Sharpie Markers Black
A permanent marker will give you a dark black color.

Drawing Paper
This is the good stuff you can buy in bulk for a good price.
Pin me to your Pinterest Board
Step by Step Directions
Time needed: 1 hour
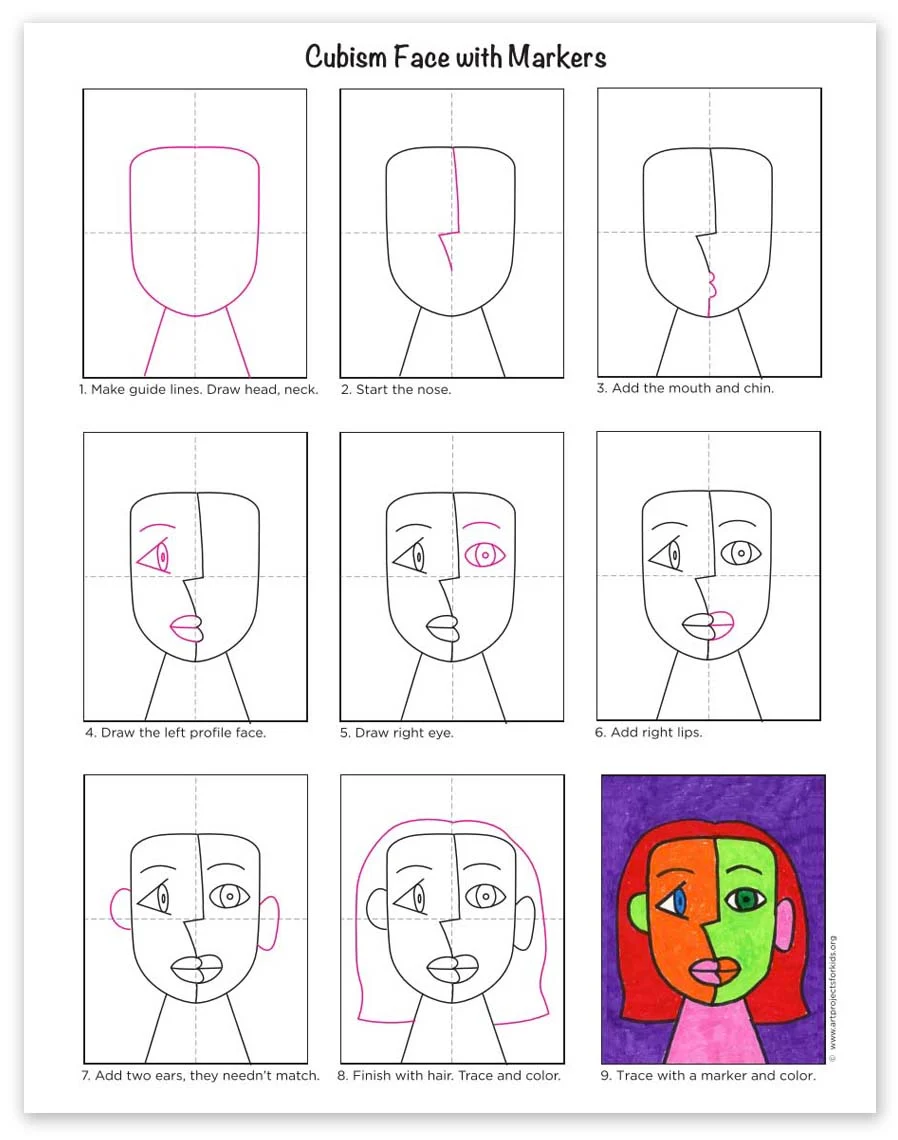
Draw a Cubism Portrait for Kids
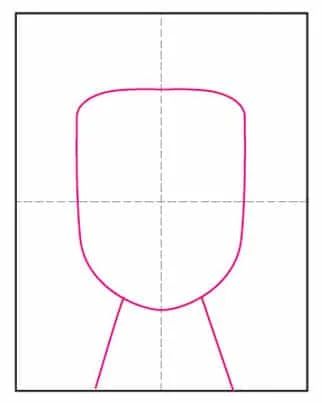
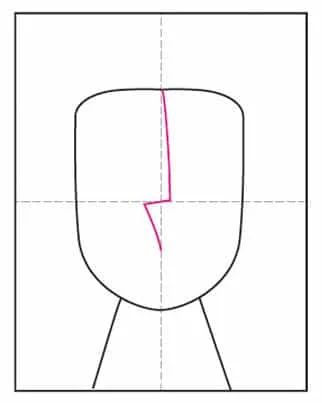
- Draw the head and a simple neck.
- Start the nose line as shown.
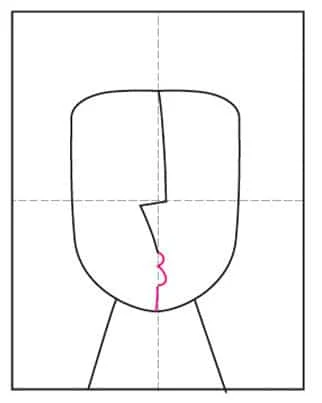
- Add the mouth and the chin.
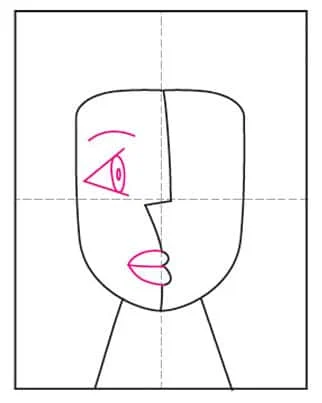
- Draw the left profile face with the eye and mouth lines.
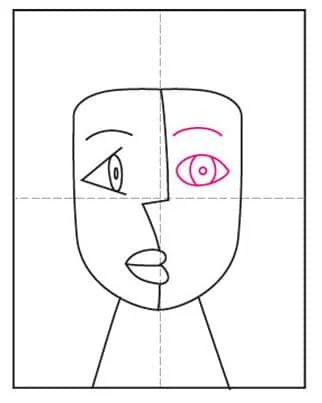
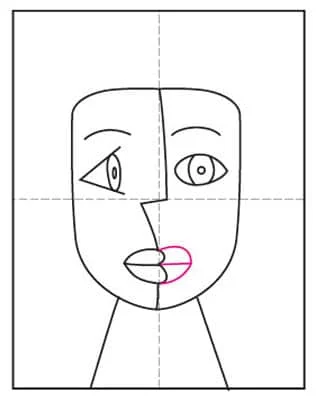
- Draw the right forward looking eye.
- Add the right side lips.
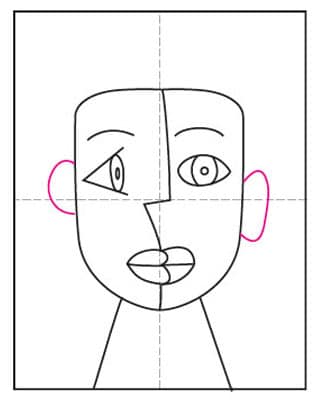
- Draw two ears on the side of the head, they do not need to match.
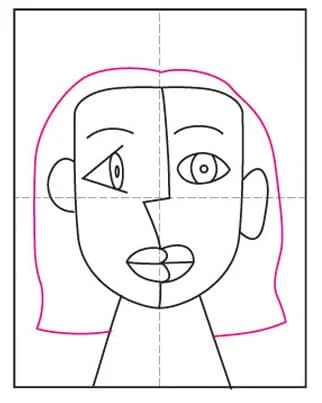
- Draw the hair around the head as needed.
- Trace the drawing with a thick black marker and color.
Already subscribed to “The Daily Draw”?
Great, then use the download button below to get your free Circle Tree tutorial.
And thanks for wanting to bring more step-by-step, no-prep art lessons to your classroom!
More Fun Portrait Drawing Projects