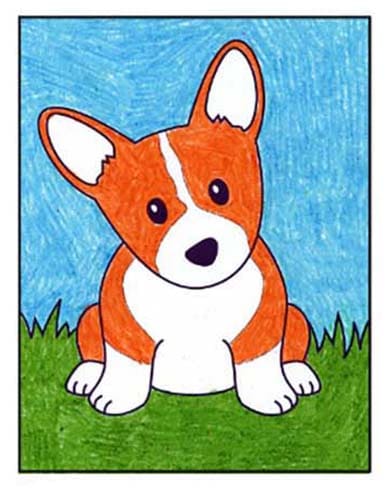
Below you’ll find an easy step-by-step tutorial for how to draw a Puppy. There are even two different lessons to choose from!
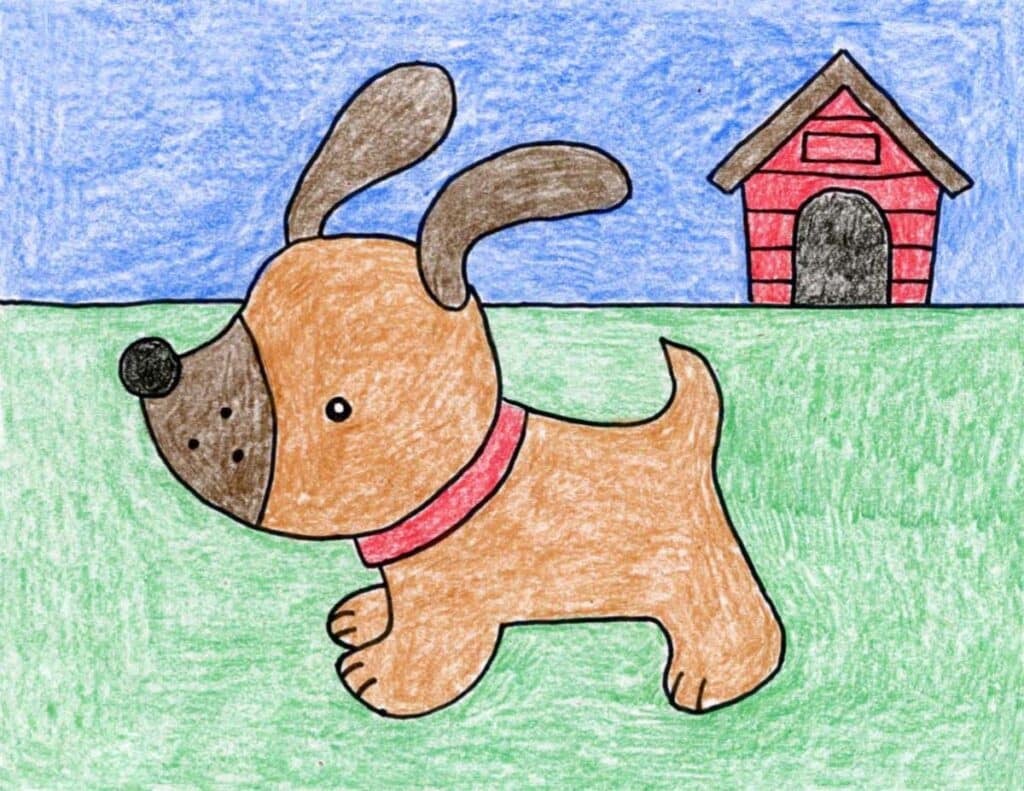
Dogs come in all shapes and sizes, of course, but a puppy is not just a scaled down version of a full-grown dog. The head needs to be on the large size, and the legs need to be a little short. The combination gives the impression of a body they have yet to grow into, which is true for almost any baby animal (or human!) for that matter.
Use the Button below to Grab a PDF Tutorial
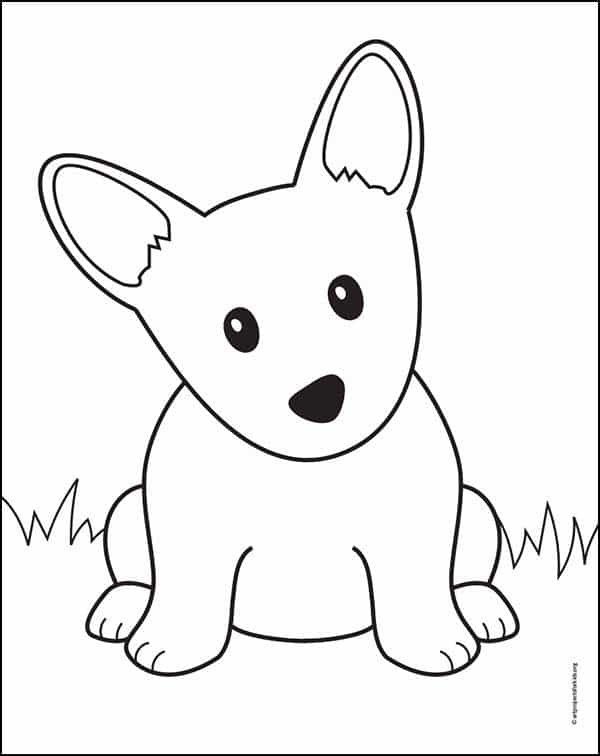
Puppy Coloring Page
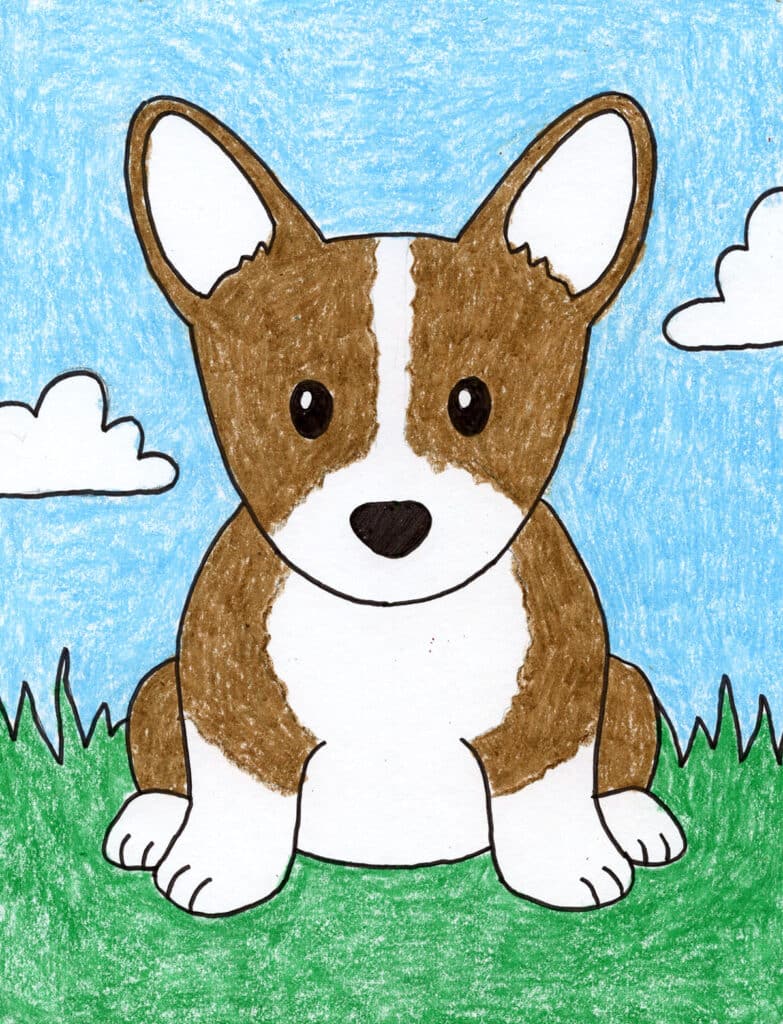
Another Cute Puppy Tutorial
Materials for Puppy Project
Colored Pencils or Crayons
A larger pack will offer more color choices.

Sharpie Markers Black
A permanent marker will give you a dark black color.

Pencils
I like how this brand always makes nice dark lines.
Drawing Paper
This is the good stuff you can buy in bulk for a good price. Note: All of the links shared here are affiliate links.
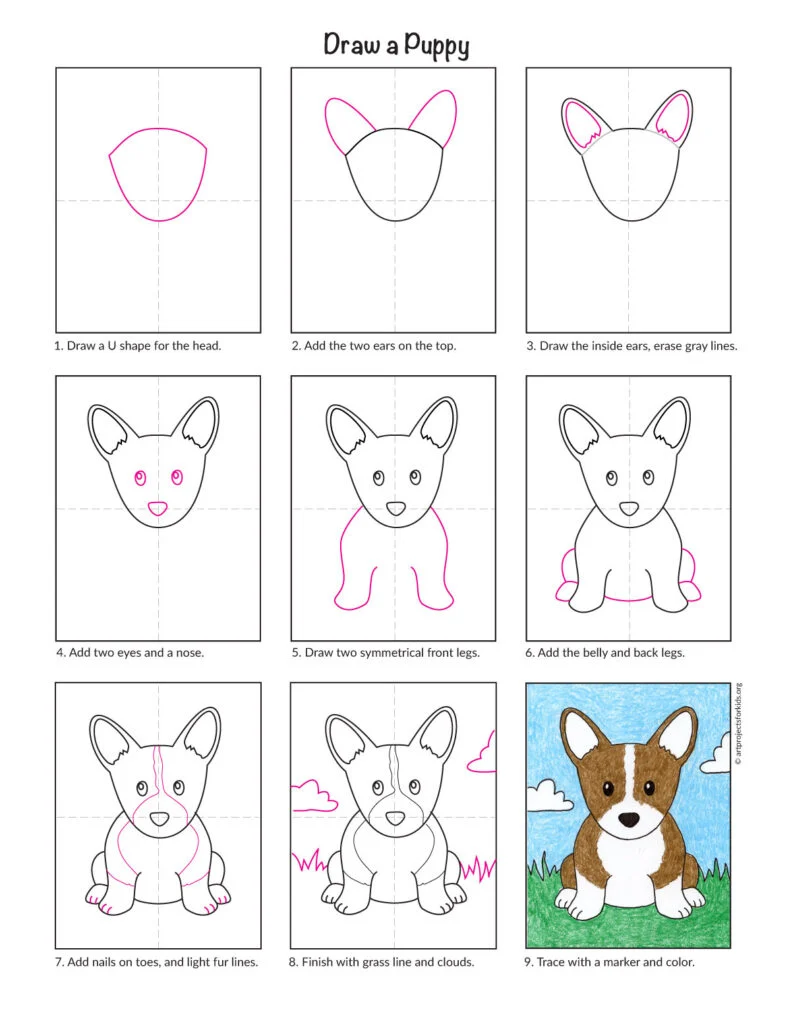
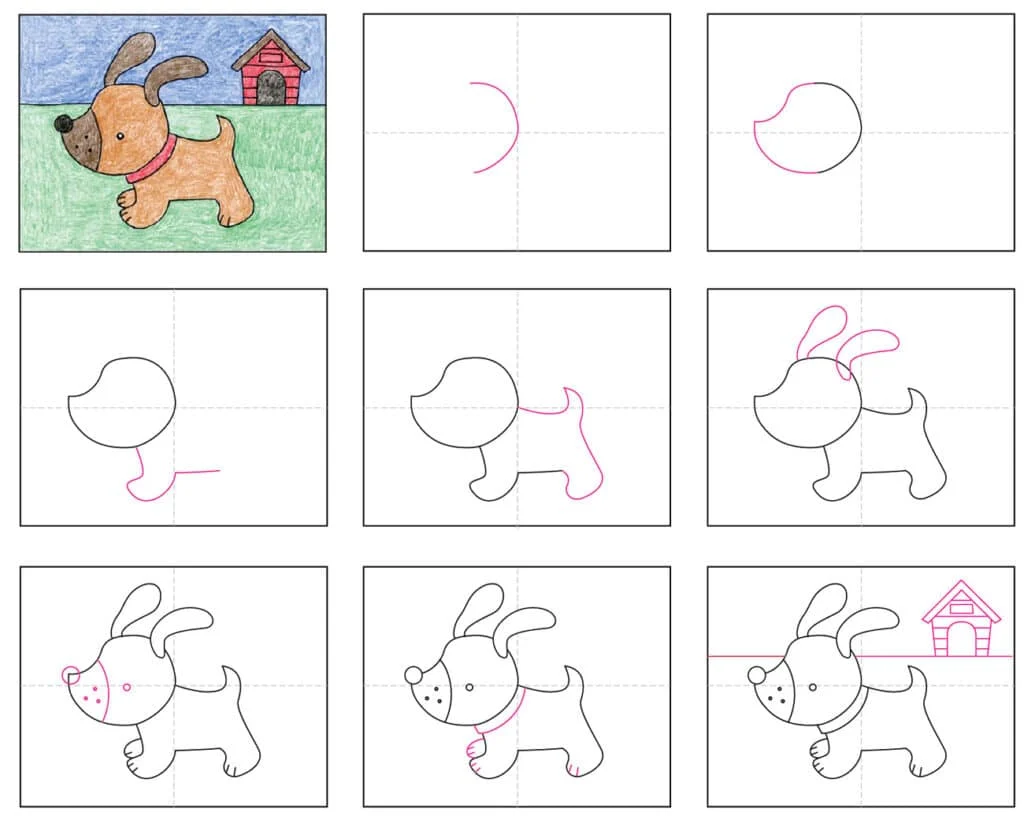
Step by Step Directions for Puppy Project
Time needed: 45 minutes
How to Draw a Puppy
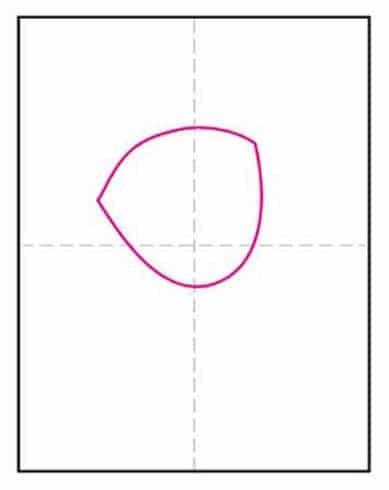
- Draw a U shaped head at an angle.
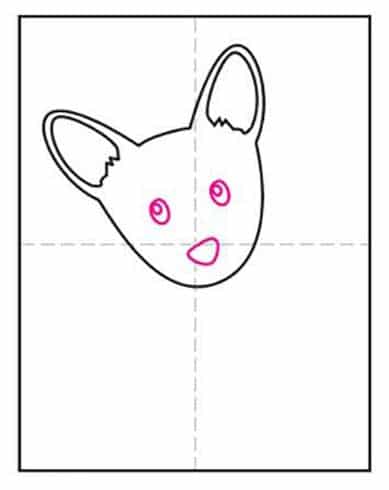
- Add the two ears on the top.

- Draw the inside ears, erase the gray lines.

- Add two eyes and a nose.
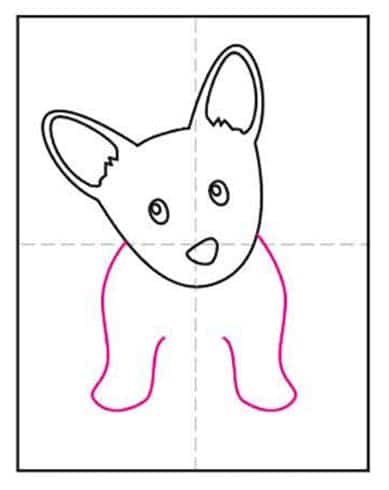
- Draw two symmetrical front legs.
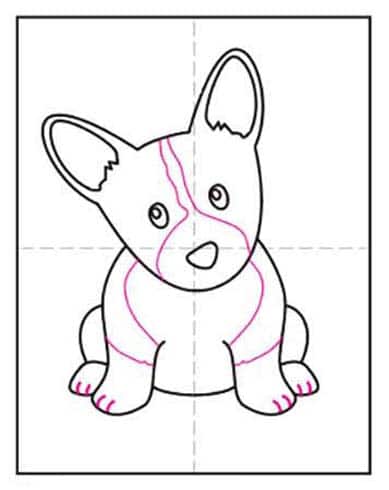
- Add the belly and back legs.

- Draw the nails on the toes, and light fur lines.
- Finish with a grass line.
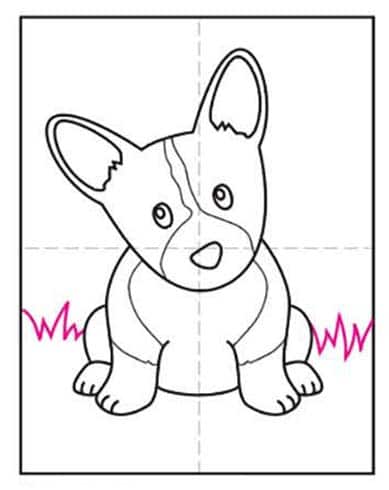
- Trace with a marker and color.